A DIY baby photoshoot always seems like it would be fairly easy, yet something was never quite right with the shots I took. They were either too dark, too clutter or just plain ‘off’.
So I asked Canon if I could post their Tummy Time tutorial – it’s one of my favorites – so we can see how the pros get those amazing photos.
Obviously, your baby has to be able to hold his/her head up for this shot (face plant photos are rarely good holiday card material) but there are other tutorials that suit every stage on the Canon website if you want to check those out too.
What was used in this shoot:
- Soft Surface
- Canon DSLR camera
- Canon EF 40mm Lens
Step-by-Step DIY Baby Photoshoot:
Here’s a step-by-step tutorial on how to capture a great shot of your baby with things you have in your home.
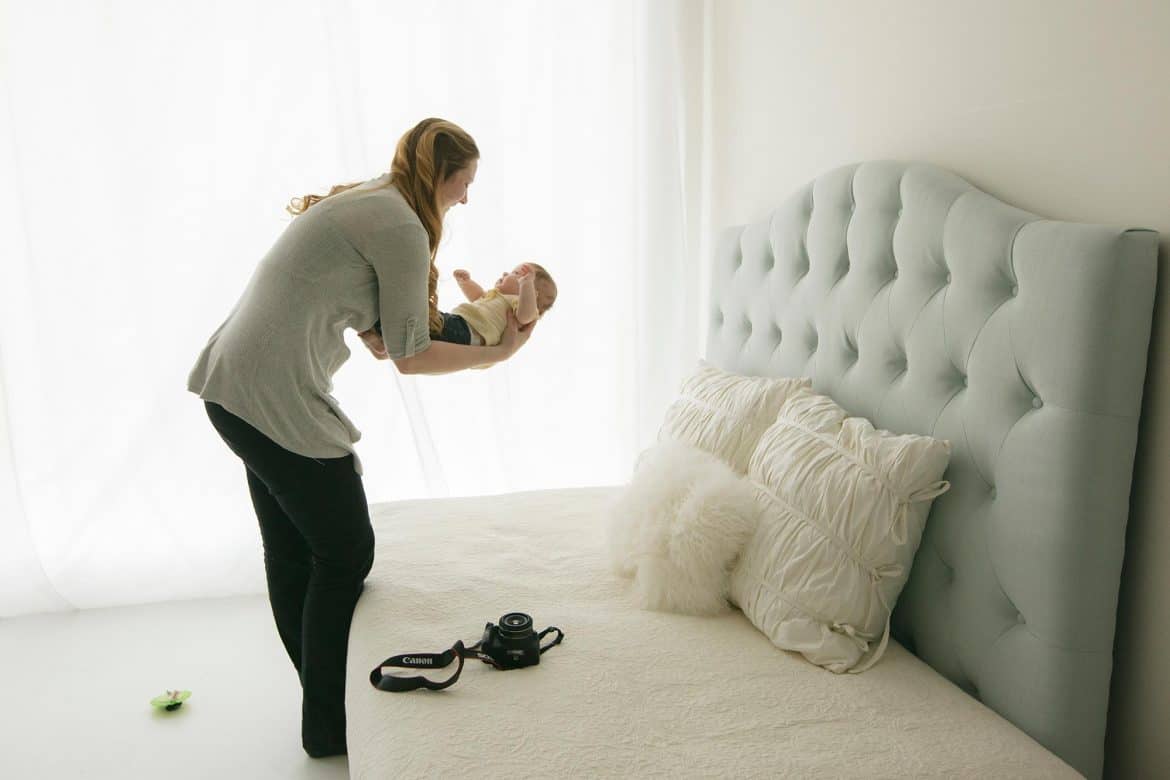
Choose a room with a large window that lets in a lot of natural light. Tip: Hang a white bed sheet to diffuse light if too bright.

Place baby down on their tummy on a soft surface.
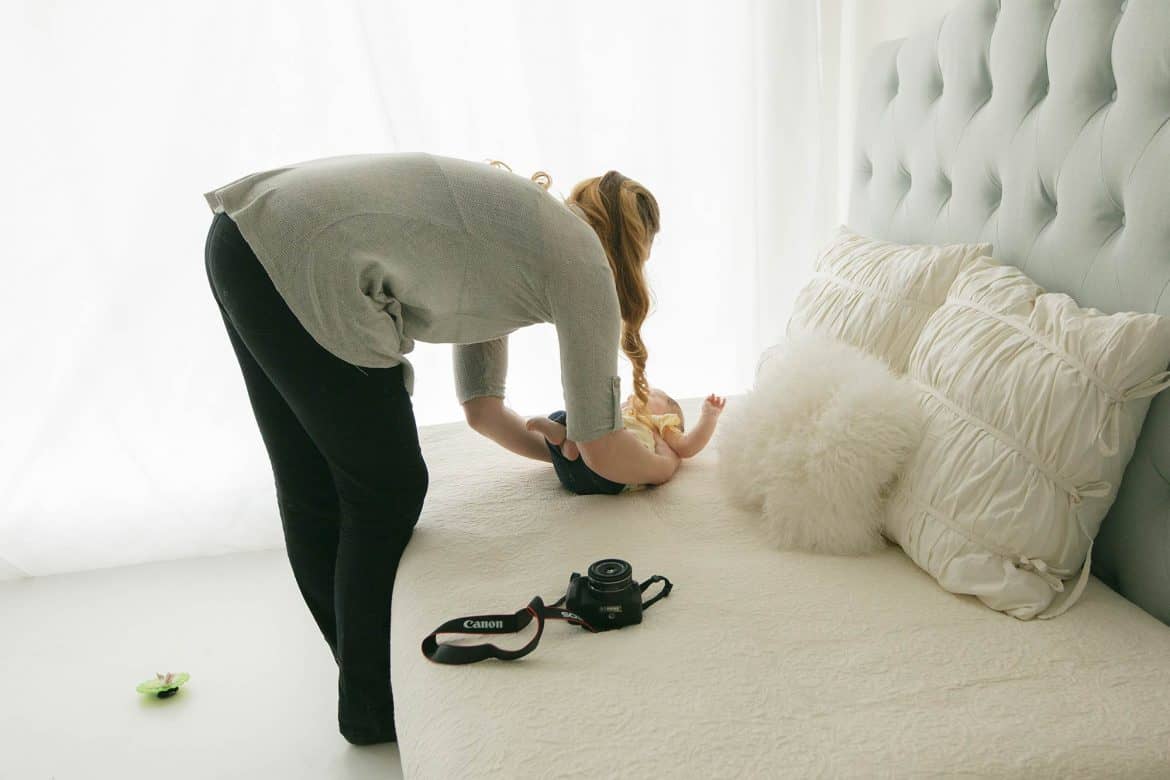
The portrait mode was used on the Canon EOS Rebel SL1 with the EF 40mm lens.
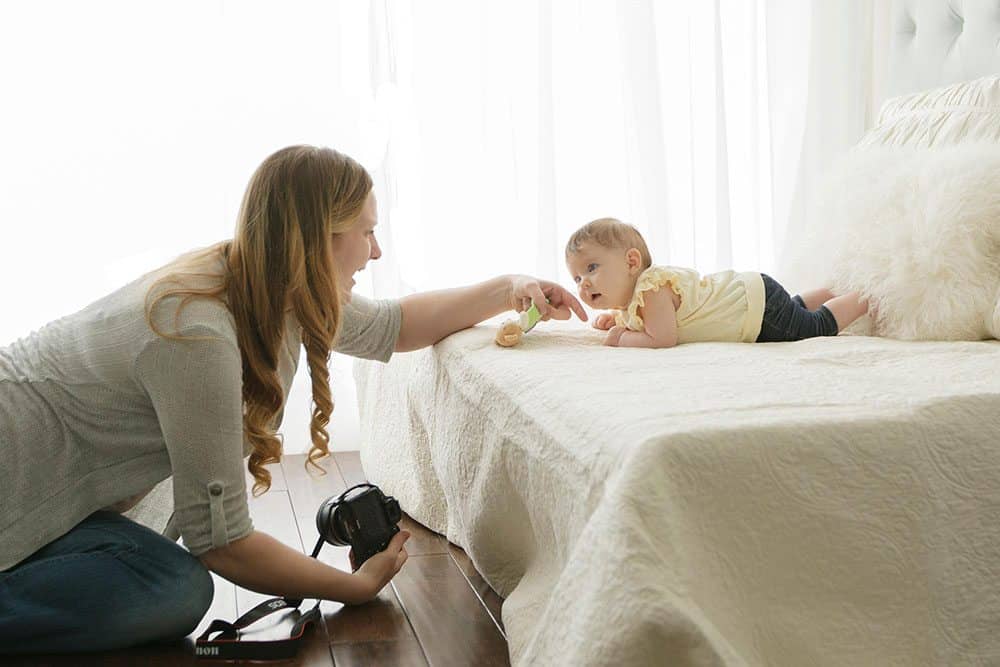
Attract baby’s attention using toys or songs to encourage them to lift up and make eye contact.
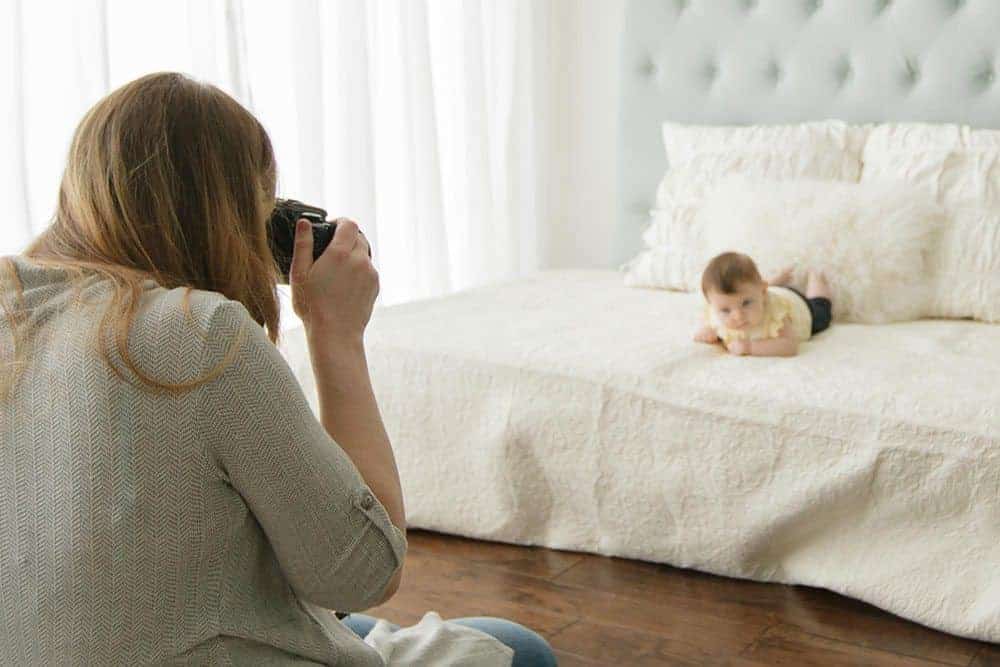
Come down to baby’s eye level with the camera to take the photo.
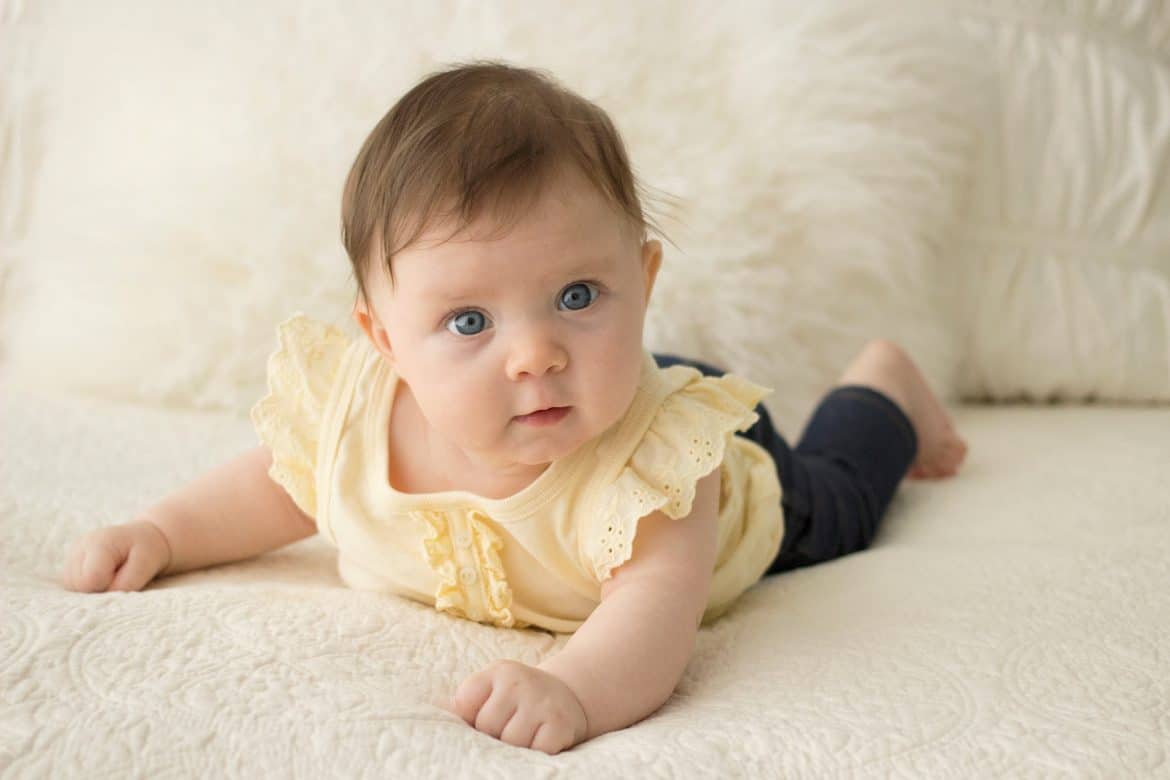
Bask in the glow of a damn Anne Geddes shot taken in your bedroom.
Did you have a DIY baby photoshoot?
Did you nail this shot? Was it a disaster? I’d love to know!
Also check out: The 5 Best (Free) Photo Sharing Sites for Baby Pictures


Leave a Comment